Lab #10: Texture Mapping
Credit: Based on notes from Sara Mathieson Texture mapping using existing images is an efficient way to make our scenes more realistic. In this lab we will practice texture mapping in WebGL/Three.js. Note: For labs, feel free to compare code and share ideas. Also make sure your partner and others around you are making progress.-
Step 1: Clone the starter code on GitHub
Log into your GitHub account. The URL for this lab is https://classroom.github.com/a/7P4i3Rzt. Click on this link (or copy and paste into your browser), then "Accept this assignment". You will see a message that your repo is being created. Soon after that, a message confirming that your repo was created will be displayed (you may need to refresh your page). Click the repository link to view your new private repository for this lab. -
Step 2: Set up a GitHub Pages site
The file lab10.html contains the starter code for this file. To render this HTML file, create a GitHub Pages site in your repository. If you click on the URL for your GitHub Pages site, the contents of README.md will be automatically rendered. We want to render the contents of the HTML file, so append the filename lab10.html to the URL (e.g.,https://csc4300-fall2023.github.io/lab10-textures-your-git-username/lab10.html) and hit Enter. You should see a blue rotating cube: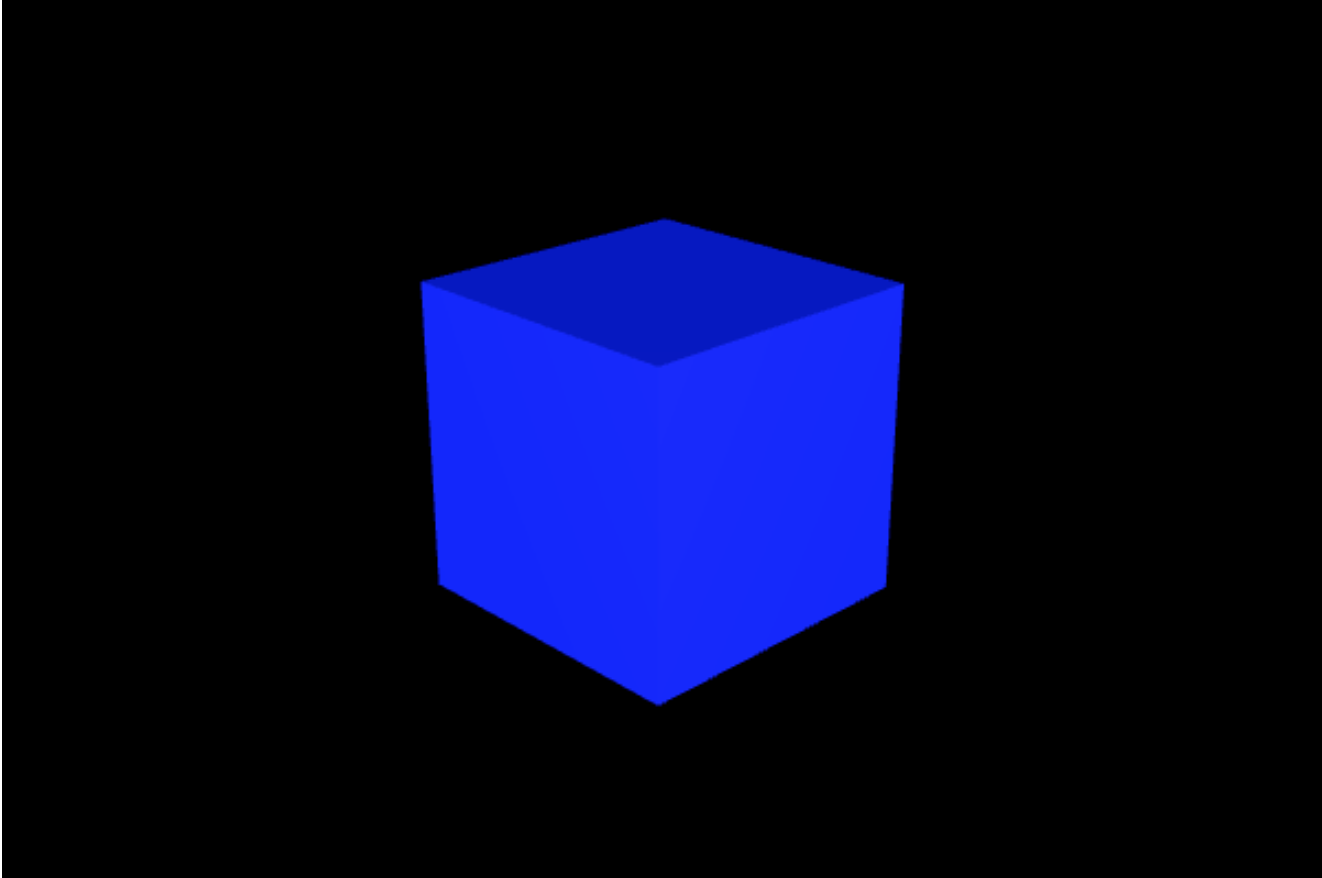
-
Step 3: Clone the starter code locally
Navigate to your remote repo on GitHub via your browser and make a local clone of your repository. Open lab10.html in your preferred editor.Important note:
- All changes must be made to your local (not remote!) repository, then pushed to the remote repository on GitHub. Do NOT edit the files directly on the cloud.
-
Step 4: Use one texture
In the first step, we will use one image to texture the cube. To load a texture image, first we'll need to create aTextureLoaderobject (already included in the starter code):
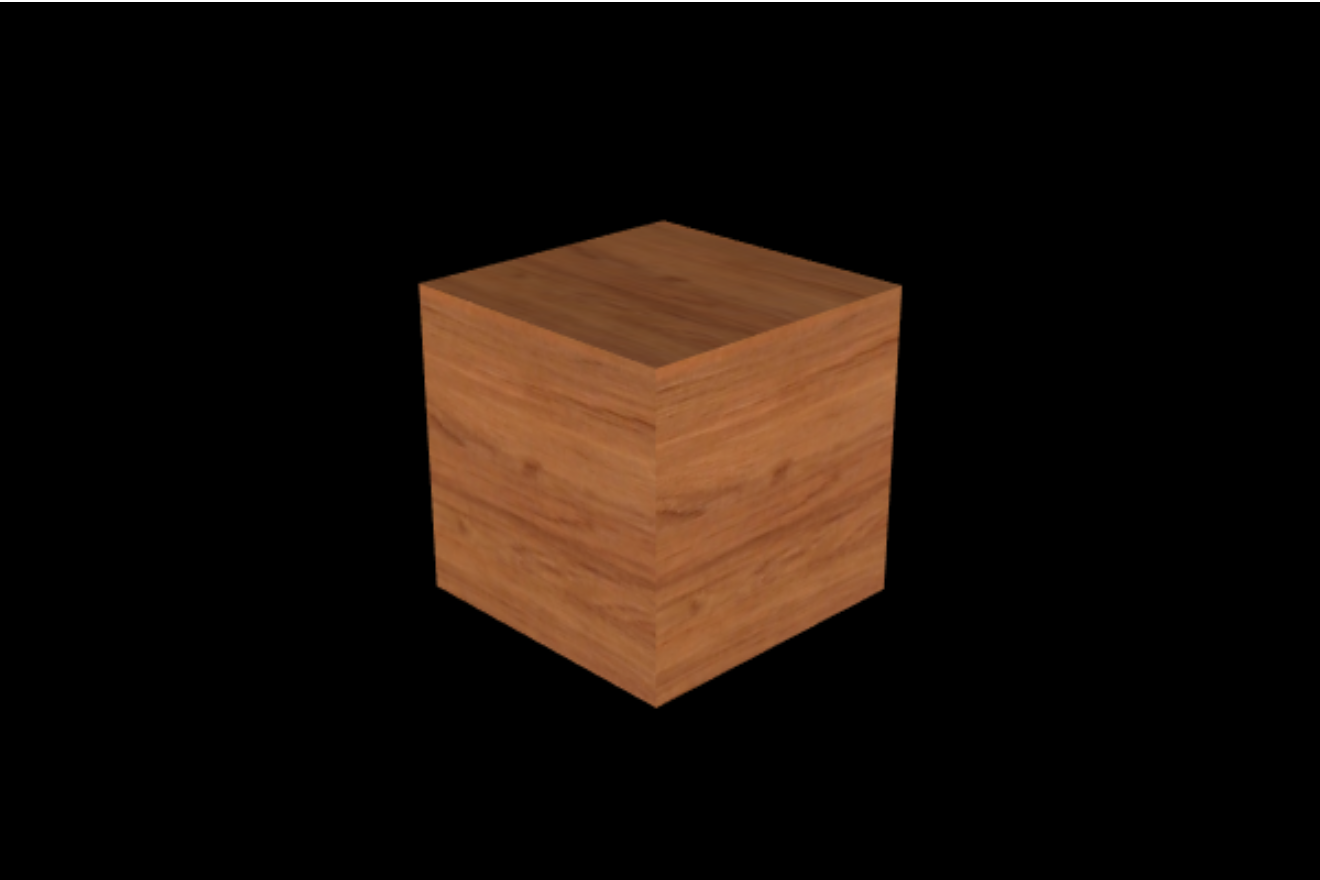
The texture loader has avar texLoader = new THREE.TextureLoader();loadmethod that takes in the URL of the image, and returns a new texture object that can be immediately used for material creation, even though the texture itself may take some time to load:var woodTexture = texLoader.load("wood.jpg"); var woodMaterial = new THREE.MeshPhongMaterial( { map: woodTexture } ); // replace cube creation with: cube = new THREE.Mesh(geometry, woodMaterial);Important note:
- From this point on, you can only test your code remotely, since your browser cannot load textures from your local machine due to security restrictions. You may still edit your file locally, but you'll need to push your code to the remote repository before testing.
Do this frequently:
- Commit your changes to your local repository.
- Push your code to the remote repository.
- Test your code remotely.
-
Step 5: Use Multiple Textures
Next we will create a material for each of the 6 images, and map one to each face of the cube. Use the same style of code above for the grass, apple, etc. Then create a list of all these materials:
When rendered remotely, you should get something that looks like this:var materials = [woodMaterial, appleMaterial, skyMaterial, flowerMaterial, grassMaterial, stoneMaterial]; // replace cube creation with: cube = new THREE.Mesh(geometry, materials);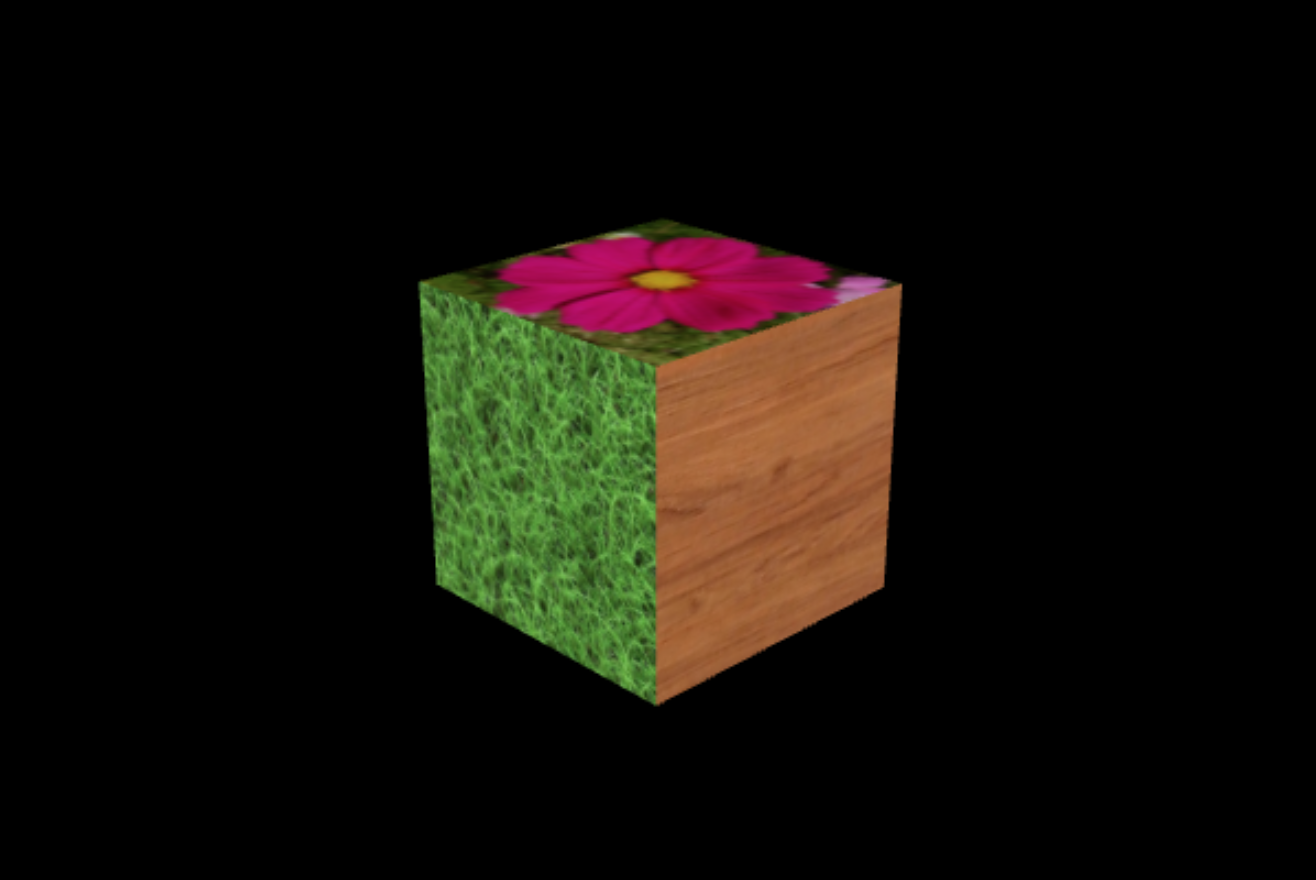
- Commit your changes to your local repository.
- Push your code to the remote repository.
- Test your code remotely.
-
Step 6: UV mapping
The three.js geometries (such asBoxGeometry) have already got UV mapping set up for us. For custom geometries (such as the pyramid from lab #5) we need to manually set up custom UV mappings. Let's explore this. Comment out the cube and set up a custom pyramid geometry using the code from lab #5:
To texture this pyramid, first we need to map the vertices of each pyramid face to UV texture coordinates. Study the code snippet below: first we create an array of UV coordinates to be used repeatedly (a UV coordinate may be shared by multiple vertices), then index this array to choose UV coordinates for face vertices.// set up the geometry for our pyramid var pyramidGeom = new THREE.Geometry(); pyramidGeom.vertices = [ // array of Vector3 giving vertex coordinates new THREE.Vector3( 1, 0, 1 ), // vertex number 0 new THREE.Vector3( 1, 0, -1 ), // vertex number 1 new THREE.Vector3( -1, 0, -1 ), // vertex number 2 new THREE.Vector3( -1, 0, 1 ), // vertex number 3 new THREE.Vector3( 0, 1, 0 ) // vertex number 4 ]; pyramidGeom.faces = [ // array of Face3 giving the triangular faces new THREE.Face3( 3, 2, 1), // one half of the bottom face new THREE.Face3( 3, 1, 0), // second half of the bottom face new THREE.Face3( 3, 0, 4), // remaining faces are the four sides new THREE.Face3( 0, 1, 4), new THREE.Face3( 1, 2, 4), new THREE.Face3( 2, 3, 4) ]; pyramidGeom.computeFaceNormals();
Think about ways to map the flower to this pyramid, maybe something like the image below. Can you make the bottom of the pyramid look like a complete flower?// set up an array of UV coordinates var uvcoords = [new THREE.Vector2(0, 0), ...]; // erase any previous face coordinates pyramidGeom.faceVertexUvs[0] = []; // write one line for each of the 6 faces pyramidGeom.faceVertexUvs[0].push([uvcoords[0], uvcoords[1], uvcoords[2]]); // example ... // create the pyramid using the flower texture pyramid = new THREE.Mesh( pyramidGeom, flowerMaterial); pyramid.rotation.set(0.4,-0.8,0); pyramid.scale.set(?,?,?); scene.add(pyramid);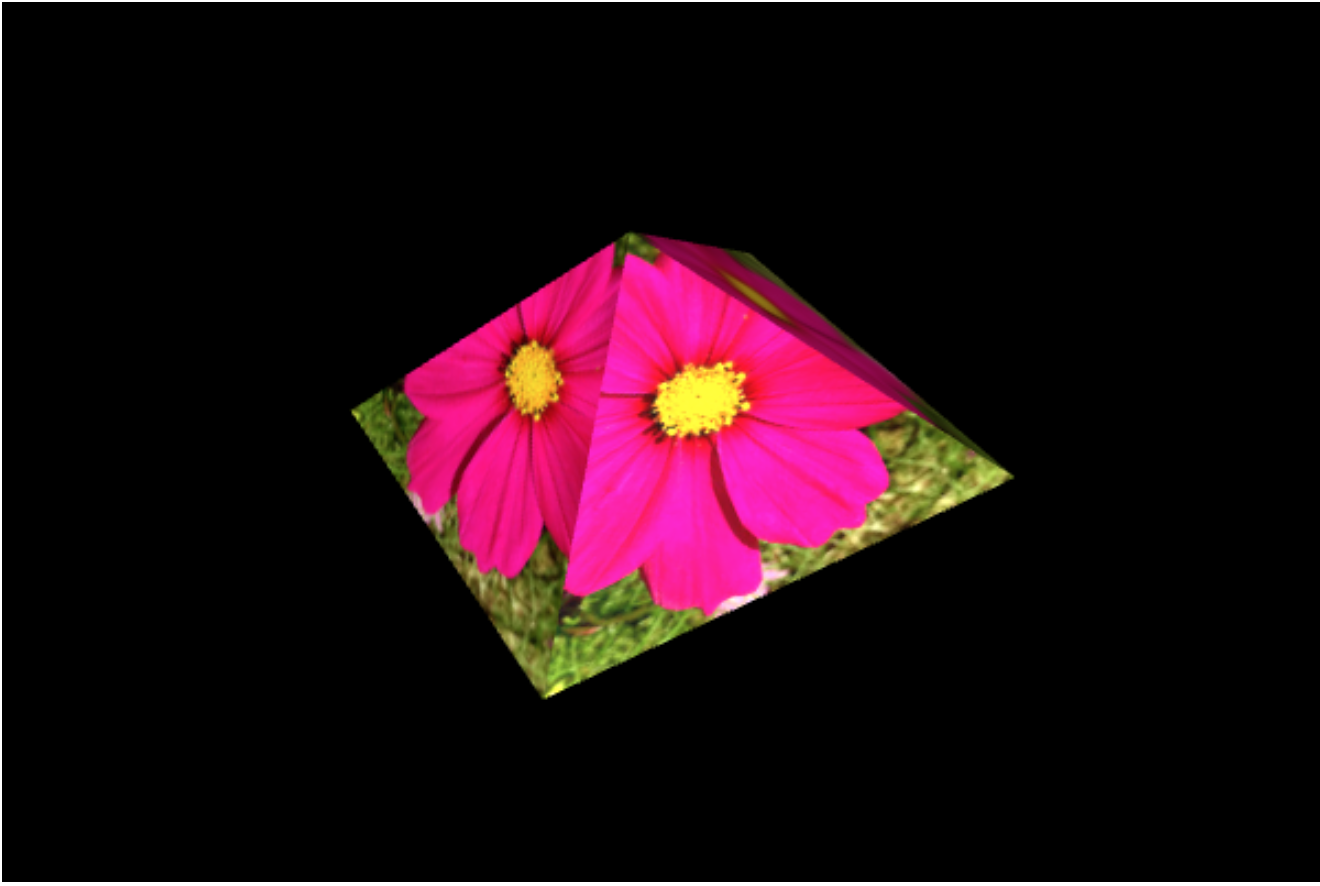

- Commit your changes to your local repository.
- Push your code to the remote repository.
- Test your code remotely.
-
Step 7:
Record this lab experience by entering the data listed below in the Wiki section of your lab repository. (Don't forget to scroll down and click Save Page to save your report.)- Date lab completed
- Time spent on lab
- What is the full URL for lab10.html? Make sure it works (clicking on this link from any computer should render your image).
- Do you have any corrections to the instructions or suggestions to improve the lab?
Step 8: Submit
Submit the lab assignment on Blackboard to receive credit for this lab. You don't need to attach any files; simply click the submit button. That will let your instructor know that you have completed the lab. The next homework assignment will build upon concepts learned in this lab, so please make every effort to complete and understand this lab.
map, which gets modulated by the material's color (this is "white" by default, so the texture retains its original look). The material type (Basic, Lambert, or Phong) defines how material properties and the lights in the scene are combined to create the color for each pixel on the material's surface.